I was trying to think outside the box on this...usually I dont create my own magic- I see someone else's and adapt it to be my own. But this I was thinking I would love to do a 2 sided craft w/ the sweet centers. These are so easy to use! I added one spoon of silver glitter to each cup and attached to Whisper White SU! cardstock w/ a stamped message. I embossed it and used Stickles to enhance the embossing and do the silver top.
I thought this would make a cute gift. Could even put a picture of your child in it with a smaller amount of glitter and give that to the grandparents! So many possibilites with these cups!
Saturday, September 12, 2009
Pep Pals
So, for candy bar day this is what we did for Kayla's football player. I wrapped the candy bar with cardstock and then wrapped the individual sized bars and attached them to the large candy bar. Then I used my SU! Top Note Die (with my new BIG SHOT THAT I LOVE!) as a topper and filled a bag full of bite size snickers and I attached that with stickers for his name and number.
Sunday, September 6, 2009
Sweet Centers Card
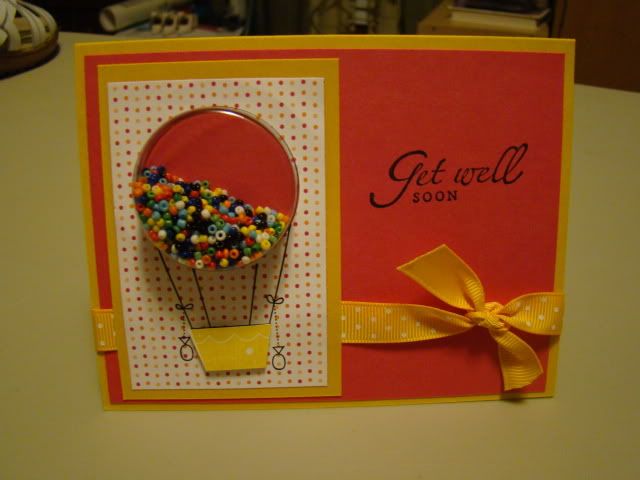
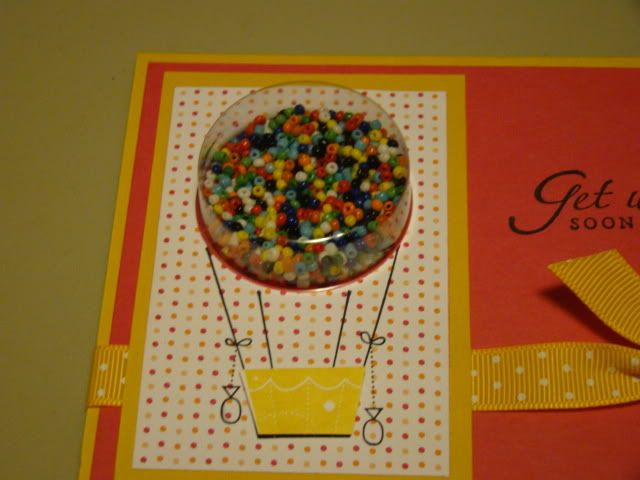
This is a card I made w/ the Sweet Center Stampin Up! set. I made this for my grandma. She fell and broke her wrist and loves hot air balloons. I filled it with beads. I went to Wal-Mart and found several options that were not candy so no one had the crazy idea to rip it open to eat the candy! LOL!
Sorry for the picture quality. My flash wasn't on- and I already gave the card away.
Thursday, September 3, 2009
Glass Etching- the easiest thing ever!
I have vowed to try new things this year so I decided to try glass etching. My oldest daughter had to make some stuff for school for pep pals. One day was a homemade treat or candy day so I took this glass jar that I bought at a yard sale for .50 and etched it. I used my cricut and cut what I wanted it to say out of vinyl. Then I positioned the vinyl on my jar and made sure it was nicely on there and no etching cream could accidentally get in the wrong spot. I used to the negative of what I cut out and applied the cream. Left it for 15 minutes and wiped it off! Turned out great!
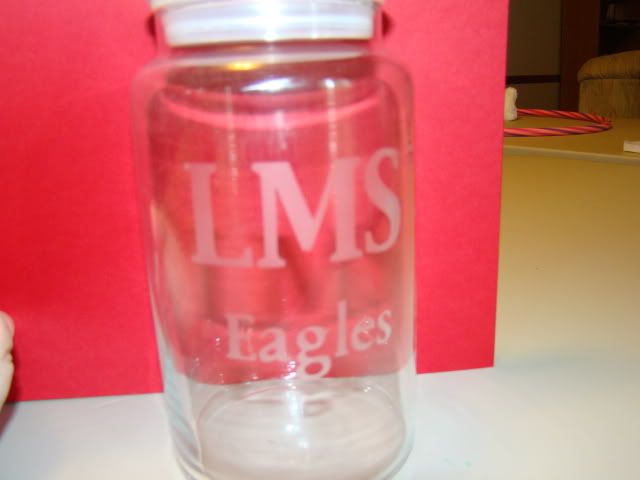
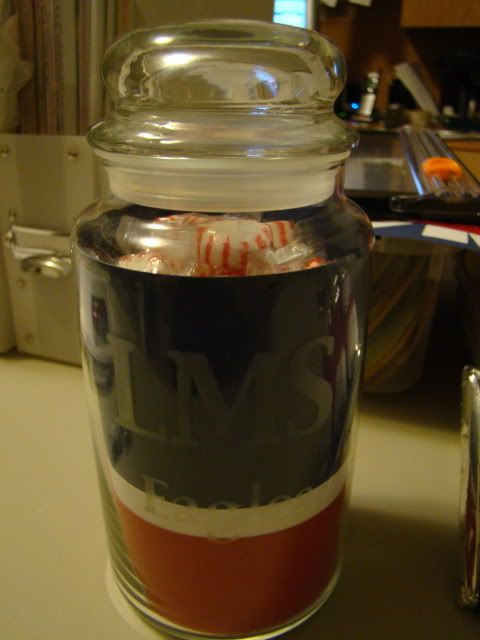
Here is the almost finished product. I am going to buy some ribbon this weekend to wrap around it and I filled it with pepermints.
Sunday, August 30, 2009
My scrap room
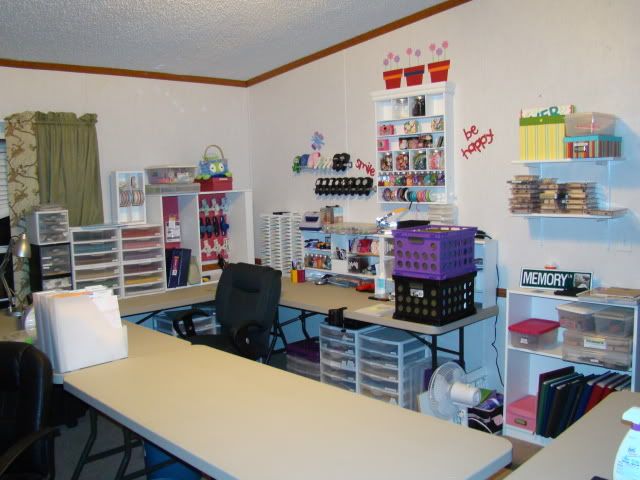
Here is the area I love to create in! It has grown over the years...when I first started I used our kitchen table and kept everything stored in a laundry basket. Then I stored everything I had in 1 wheeled toolbox. Then I moved into a corner in the bedroom w/ a desk. Well, I got too big for that too so now I am moved into the 'playroom'. Half is for the kids and half for me! This room is a nice sized room so it allows me to invite over some friends and we can all spread out and scrap and have a good time.
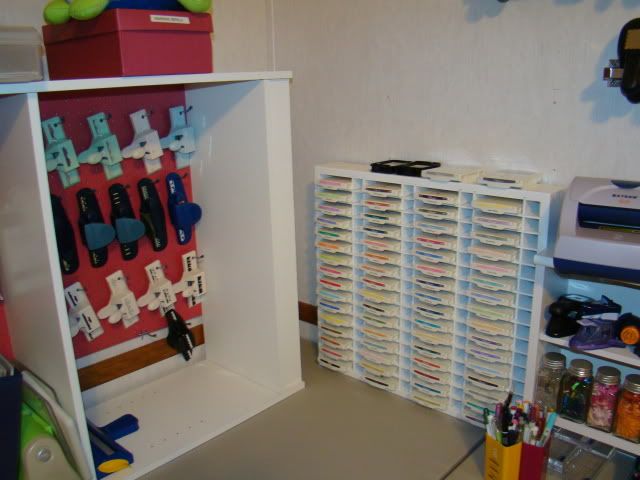
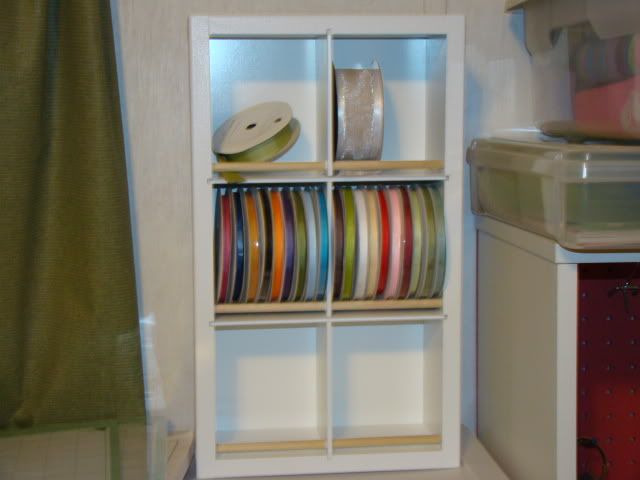
Here are my new shelves for my SU! ink pads and ribbon. Already have too many ink pads! Now I need to work on getting all the refills!
This is one of those shelves you can get at Wal-mart. My hubby pulled the back off of it and attached pegboard since we didn't want all the holes in the walls (or more than I already have!). Spray painted it PINK and drilled holes in the corners of my boarder punches so they hang perfectly. I love it!
Saturday, August 29, 2009
Diaper Bundle
Diaper Cake
Birthday Invitation
Subscribe to:
Posts (Atom)